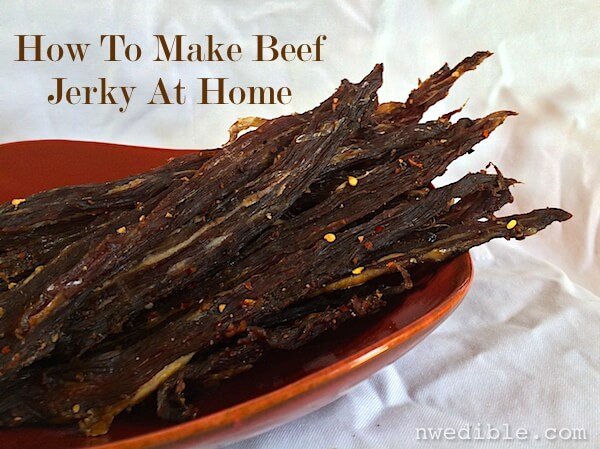
Beef jerky is a terrific snack (for both adults and kiddos) that also serves as a great source of protein. By making your own beef jerky at home, you can control the quality of the ingredients involved and, frankly, achieve a much better taste. This post smoothly walks you through the process of making beef jerky, and includes four recipe variations for you to try out!
“Jerky is a favorite snack around here. The kids will eat it as willingly as sweet stuff like muffins or cookies, and it’s easy and lightweight enough to carry around in a jacket pocket or mom purse.
The only issue we have with jerky is the price – have you costed out grass-fed beef jerky lately? Notcheap. So when I placed my latest wholesale order for beef, I purchased several flank steaks with a mind towards making my own DIY Beef Jerky.
Jerky is easy – it doesn’t require any special equipment or ingredients (though having a food dehydrator makes the process easier), and the homemade stuff tastes so much better than store-bought.
Step One: Select Your Cut of Beef
I used flank steak, so that’s what is shown in all the photos in this tutorial. Flank is a flavorful but fairly lean cut that holds up well to marinating and drying. It’s also small, so it’s easy to work with at home.
Other good cuts of beef for jerky come from the round. Eye of round is excellent, but top or bottom round are fine too. Flap meat is similar to flank, and if well trimmed of excess fat can be used for jerky as well.
If you opt for a different cut of beef for your jerky, here’s a couple things to keep in mind:
- Keep it lean! Fat in jerky makes it more prone to rancidity and spoiling. Your jerky meat doesn’t have to be completely devoid of fat, but the leaner the meat the longer the jerky will last. Avoid well-marbled cuts.”


Leave a Reply